Adam Luptak

Labs

Device Orientation in iOS

Objective-C
Oct. 29, 2013

Let me tell you a story: there once was an iOS app that was primarily locked into a portrait orientation, but had a photo viewer that could support landscape. The systems for governing orientation were complex and not clearly explained anywhere, and clear answers on Stack Overflow were hard to come by.

In the end, we figured it out. The trickiest part was figuring out how to keep the app from launching in a forbidden orientation, but still allow the orientation in the photo viewer. Here's what we learned.

Project Settings > General > Deployment Info

This is easy. For each targeted device, select orientations that the app can be launched into. If the device is in an orientation that isn't included here when the app is launched, it will snap to one that is.

View Controller Orientation Methods

The app's root view controller has some methods for controlling rotation.
In iOS 5 (and before), -(BOOL)shouldAutorotateToInterfaceOrientation:(UIInterfaceOrientation)interfaceOrientation is used. It overrides the orientations listed in the project's Deployment Info.
In iOS 6 (and later), we instead use -(NSUInteger)supportedInterfaceOrientations and return a UIInterfaceOrientationMask value.
However, in iOS 6 and later, supportedInterfaceOrientations does NOT override the settings in Deployment Info, but rather can be used to disable orientations enumerated in the Deployment Info.

App Delegate

In iOS 6 (and later), there is an optional method that can be implemented in the App Delegate: -(NSUInteger)application:(UIApplication *)application supportedInterfaceOrientationsForWindow:(UIWindow *)window. If implemented, this will kick in after the app launches, and override the orientations listed in the Deployment Info.

So, in our example, we want the app limited to portrait at launch and throughout the app, except in the photo viewer.
In Deployment Info, only portrait is allowed.
For iOS 6 and later, application:supportedInterfaceOrientationsForWindow: overrides the Deployment Info (once the app is launched) by returning UIInterfaceOrientationMaskAll.
The root view controller is set up to call shouldAutorotateToInterfaceOrientation: and supportedInterfaceOrientations on the top view controller on the stack and return the result.
In iOS 5, shouldAutorotateToInterfaceOrientation: returns YES only if interfaceOrientation is UIInterfaceOrientationPortrait, except in the case of the view controller for the photo viewer, which always returns YES.
In iOS 6, supportedInterfaceOrientations returns UIInterfaceOrientationMaskPortrait, except the photo viewer, which returns UIInterfaceOrientationMaskAll.
Javascript Color Blending

JavaScript
Aug. 24, 2013

Every front-end developer has probably written a custom color class. In fact, most have probably written as many color classes - if not more - as the languages they know.

While working on a feature of the upcoming Rally Interactive site (coming late 2013), I needed a flexible JavaScript color class. In addition to the usual RGB and HSV tools that I needed, I also would need the ability to blend or transition from one color to another.

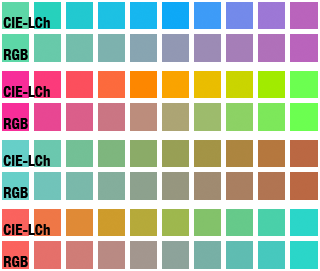
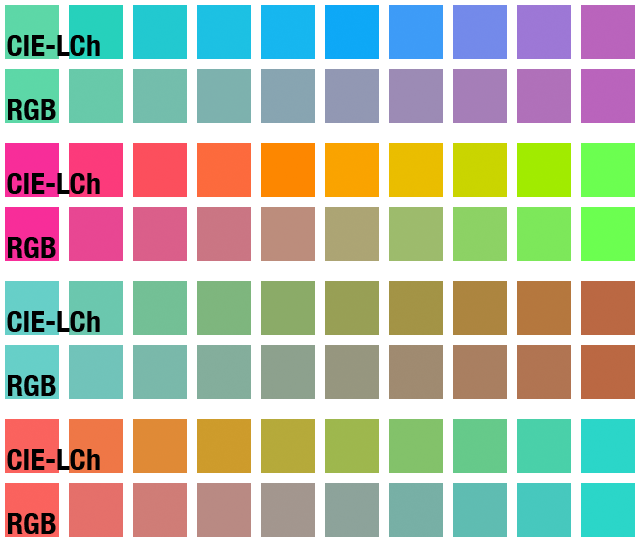
Color transitions are a tricky thing. Simple tweens in the RGB color-space sometimes produce ugly, muddy, or desaturated colors in the middle of the blend. My friends Wes and Anson pointed me towards Stuart Denman's post on using the CIE-LCh color-space for blending. It's quite detailed; I highly recommend you check it out.

Of course, I couldn't simply use Denman's JavaScript, because I'm a masochist and a pedant. No, in reality I just have different preferences regarding structuring my JavaScript, and I like the concept of a unified Color object, rather than standalone RGB, HSV, of CIE-LCh objects.

Short version of Denman's post: using the CIE-LCh color-space, we can create blends that smoothly transition perceptual brightness and saturation. However, because the conversion from RGB to CIE-LCh and back is somewhat expensive, it's not advisable to continually make those conversions during each step of an animation. Therefore, in my ColorTransition class, I create a number of steps using the CIE-LCh color-space to rough out the improved blend, then do simple RGB blends between those steps to save processing time.

I've included both full and minified versions of Color.js and ColorTransition.js, as well as a test setup for visualizing random blends.


Read/write binary data in Python

Python
Aug. 30, 2012

So, you want to read individual bytes of a file in Python? How about writing individual bytes back in? As with most things in Python, it's both very easy and also kind of weird.

Some googling led me to this answer on Stack Overflow. Easy, right? Open a file, read one position at a time. No problem.

Only thing is, if you print out whatever it was you just read into your variable (oh, Python), you have a character. Specifically, the character whose ASCII value is the value of the byte.

So, if you actually want to do something with that value, you probably want to convert it into an integer (between 0 and 255). Super easy! Just use the ord() function an there you are.

How about writing individual bytes into a binary file? Also really easy. From poking around, I found this forum discussion which implied you could put everything into a string and write that out to a file. That's right - take an empty string, and for each integer value you want to right into a byte (between 0 and 255), run it through chr() (the inverse of ord()) to change it back into a character, and append that to the string. When you're done, simply write that string to a file, and you're done!

For a demonstration, see the attached code; it's a simple method that will take a file, read each individual byte, convert it to an integer, convert it back, and write them out to a new file.


AES in Python & Obj-C

Encryption
Python
Objective-C
Aug. 13, 2012

Despite having a bunch of new toys, I haven't been tinkering with Arduino because I've been working on a more involved (as-yet undisclosed) side project.

I've been doing some work writing custom binary files, developing a scheme that I'm not going to be talking about. However, I also wanted to encrypt my files for an extra layer of protection. Catch is, of course, that I knew basically nothing about modern encryption. I would have been completely lost, but Michael linked me over to Protecting resources in iPhone and iPad apps by Robin Summerhill. This gave me an idea of what I should be looking at - AES symmetric encryption.

Knowing what my workflow would be down the line as the project nears launch, I wanted to encrypt my files using Python and decrypt them in Objective-C (for iOS). Robin's solution is great for the iOS side, but I figured I might as well not bother with the shell script. I started digging into doing the encryption in Python, which is where things started to get interesting.

The go-to cryptography library for Python is PyCrypto. It's fairly low-level; it encrypts a chunks of data for you, but you have to do the rest of the work. There seem to be a lot of wrappers, but they seem overcomplicated. Fortunately, I found Eli Bendersky's lightweight implementation of reading in a file, breaking it into chunks, encrypting and writing out to a file. This code was the basis of what I needed, but I wasn't done yet.

Looking at Robin Summerhill's Objective-C code, I had spent a good amount of time puzzling over the arguments that were passed into the CCCryptorCreate method. Of particular interest was kCCOptionPKCS7Padding. A bit of Googling later and I learned that since we're encrypting chunks of data, our chunks have to be complete, which means padding the last chunk - in this case, we need it to be a multiple of 16. That's where PKCS7 comes in. My understanding is that PKCS7 is the same as PKCS5, except it can handle 64-bit encryption instead of 32 (but I won't be needing it to). It's quite simple: you see how many bytes you need to add to chunk, and then set all those bytes to that number. Eli Bendersky's code doesn't follow this padding scheme, but it was quite easy to substitute in.

The other catch was that the Python snippet used (and it seems like PyCrypto might require) an instantiation vector (or IV). The IV is used in coordination with the private key to encrypt data. Apparently your nefarious neighborhood black hat could learn something useful by examining similar files encrypted with the same private key. However, using different IVs for every file keeps the manner in which they're encrypted unique. Since the IV is different for every file, we need to put the IV into the files so we can use it to build a cryptor.

So, at the end of the day, we create an IV, write it onto the beginning of the encrypted file, and then encrypt our data in chunks, padding the final one using the PKCS5 scheme. (Eli was also writing the original size of the file, but since we're using a standardized padding scheme that Objective-C knows how to trim, we don't need that.) Then, Robin's code needed a quick modification to read off the first 16 bytes and use them as the IV (her code didn't use an IV), then proceed as normal.

If you check out the Xcode project I've included, you'll see a JPG that I encoded using Python, and it reads out the first 100 bytes of the encrypted file and compares them to the bytes from the unencrypted file to verify that they're the same.


Game of Life Heatmap

Processing
July 11, 2012

Conway's Game of Life is a concept I've wanted to experiment with for some time, but it's never gotten high enough on my to-do list to dig into it.

My good friend Michael, however, shared an implementation with me that he wrote in Processing. It's cleanly written, and was a great jumping-off point for me to play with.

As a quick exercise, I sketched up a heatmap visualization of the Game of Life as it runs, given a random setup.


Binary Counter

Arduino
Electronics
July 5, 2012

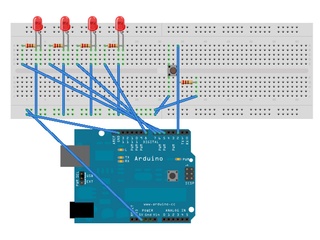
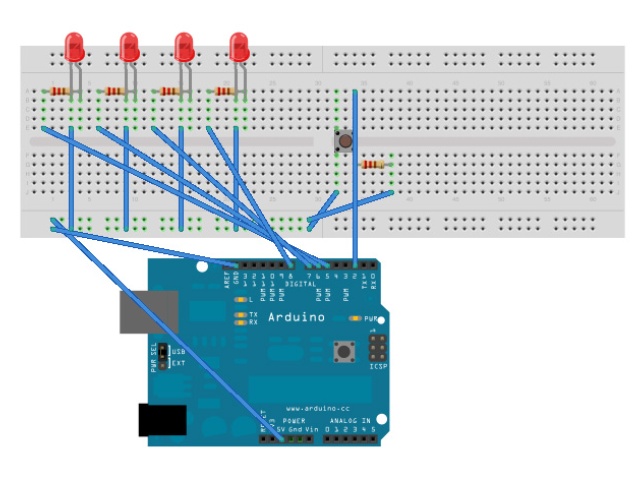
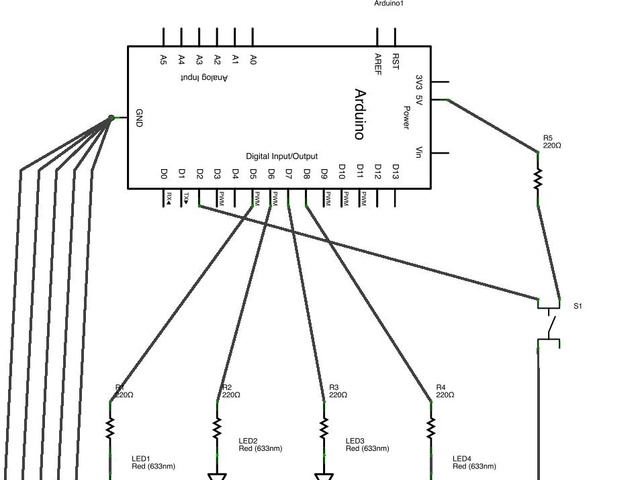
It counts up the amount of times the button has been pressed, and displays it in binary on the LEDs.

It goes as high as 15, which is as high as you can count with 4 digits in binary, then resets to zero.

This also incorporates a class-based Debouncing method, which I adapted from the example code by David Mellis (which was in turn based on a solution by Limor Fried).

This is as far as I can go with this particular setup with the pieces I have - it uses all my capacitors and jumpers (I even have to use the capacitor for the button to bridge over from the positive channel on the breadboard because I was out of jumpers). Guess this means I need to pick up more capacitors and jumpers (and probably LEDs while I'm at it).

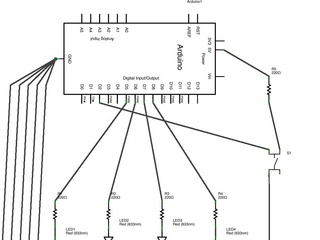
Diagrams made in Fritzing.


New Toys

Arduino
Electronics
July 5, 2012

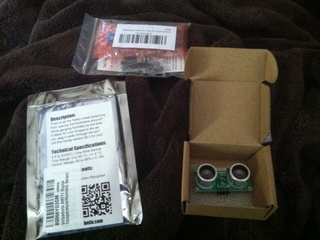
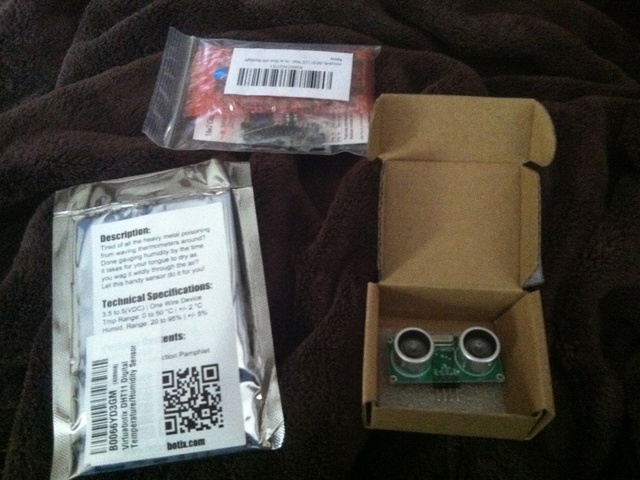
Some new toys came in the mail today!

They will have to wait, though - in the middle of something else. Binary counting and a class-based debouncer, coming up!


First Experiment with Arduino

Arduino
Electronics
June 30, 2012

I've had an Arduino starter kit for 2 years. Just sitting there. Shuttled between my home office, to work, and back to my home office, but never used.

So it's time to make something, to learn something about electronics. Don't have a ton of components, but with what I had, I cobbled together this little setup that uses a push-button to switch between two different LEDs. That'll do for now. More components are coming from Amazon, so we'll check back in next weekend.


Invocation

Inspiration
June 30, 2012

This is an invocation for anyone who hasn't begun!

Who's stuck in a terrible place between zero and one.

Let me realize that my past failures at follow-through are no indication of my future performance. They're just healthy little fires that are going to warm up my ass.

— Ze Frank